 Save
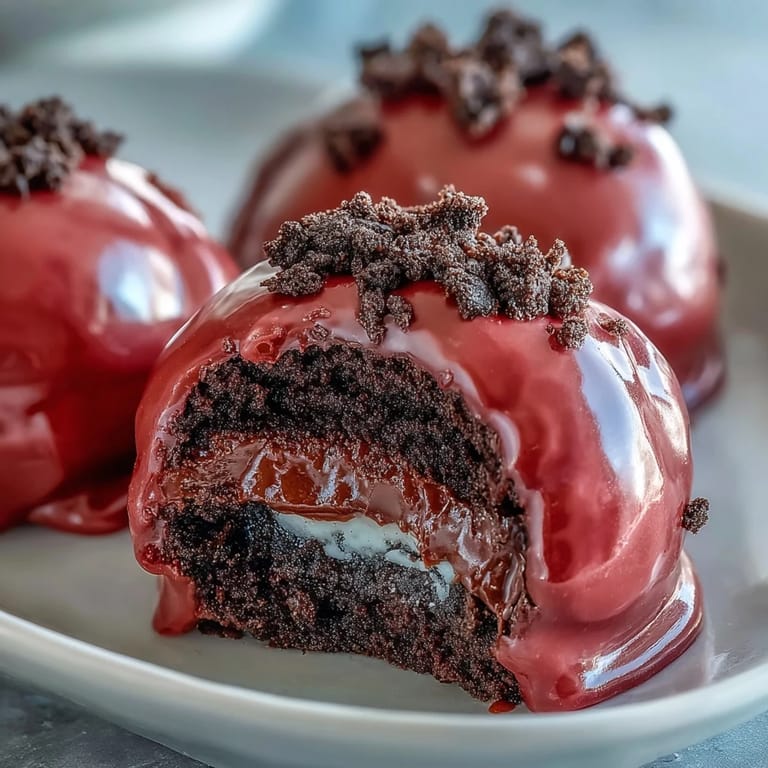
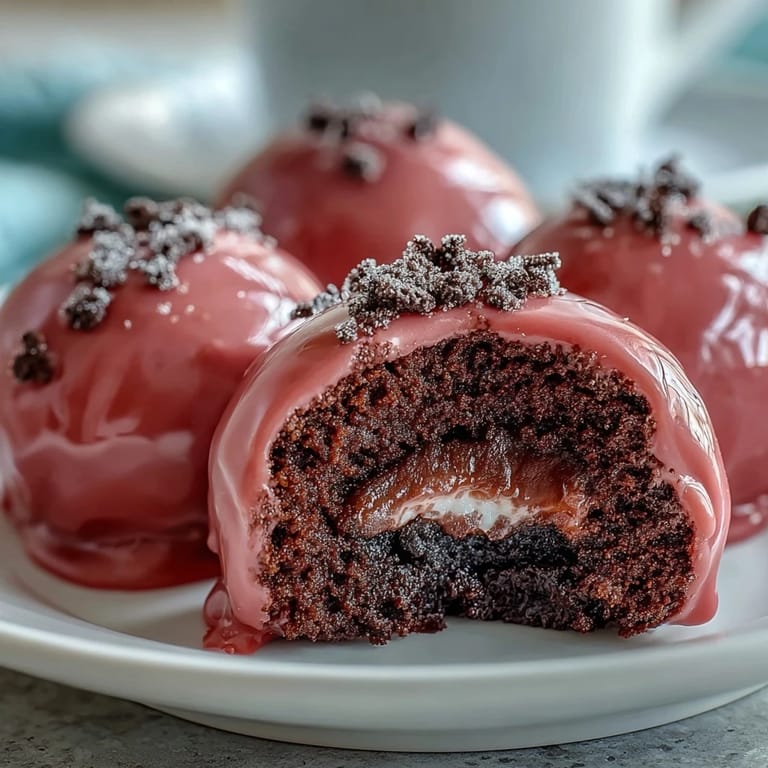
Save My sister brought these to a baby shower last spring, and I watched guests hover around the dessert table like bees drawn to nectar. The moment I bit through that crisp pink shell and tasted the creamy Oreo center, I knew I had to recreate them. She laughed when I texted her that same night asking for the recipe, admitting she'd learned it from a coworker who swore they were foolproof. I tested that claim the following weekend, and now they're my go-to whenever I need something that looks impressive but comes together faster than most people expect.
I made my first batch for a friend's birthday, and halfway through rolling the truffles, my hands were covered in dark crumbs that looked like I'd been digging in garden soil. My nephew wandered into the kitchen, took one look at me, and asked if I was making mud pies. When the truffles came out of the fridge dipped in shimmering pink, his eyes went wide and he declared them magic. That reaction alone made the sticky fingers worth it.
Ingredients
- Oreo cookies: Use the entire cookie, filling and all, because that cream adds sweetness and helps bind everything together without extra sugar.
- Cream cheese: Let it sit on the counter for at least 30 minutes so it blends smoothly with the crumbs instead of leaving lumps you'll fight against.
- Pink candy melts: These wafer-style coatings set up firm and glossy at room temperature, unlike regular chocolate that needs tempering or stays soft.
- Vegetable shortening: A tiny spoonful thins the melted candy just enough to create an even, dripless coating that looks professionally smooth.
- Sprinkles or edible pearls: Add these while the coating is still wet so they stick without sliding off once everything hardens.
Tired of Takeout? 🥡
Get 10 meals you can make faster than delivery arrives. Seriously.
One email. No spam. Unsubscribe anytime.
Instructions
- Crush the cookies:
- Pulse the Oreos in a food processor until they turn into fine, uniform crumbs with no big chunks left behind. If you don't have a processor, seal them in a sturdy zip-top bag and roll over them with a rolling pin until they feel like dark, cocoa-scented sand.
- Mix the truffle base:
- Dump the crumbs into a bowl, add the softened cream cheese, and stir with a sturdy spatula until the mixture looks like one solid, fudgy mass with no white streaks. It should hold together when you press it between your fingers.
- Shape the truffles:
- Scoop out about a tablespoon of the mixture and roll it between your palms to form a smooth, compact ball. Line them up on a parchment-lined baking sheet as you go so they chill evenly.
- Chill until firm:
- Slide the tray into the fridge for 30 minutes or pop it in the freezer for 15 if you're in a hurry. You want the truffles firm enough that they won't fall apart when you dip them in warm melted candy.
- Melt the candy coating:
- Microwave the pink candy melts in a heat-safe bowl in 30-second bursts at medium power, stirring after each interval until the coating is silky and smooth. Stir in the vegetable shortening if you want a thinner, glossier finish that slides off the fork easily.
- Dip each truffle:
- Use a dipping fork or regular fork to lower each chilled ball into the melted candy, roll it gently to coat all sides, then lift it out and tap the fork against the bowl rim to let excess coating drip away. Set each dipped truffle back on the parchment.
- Decorate while wet:
- Quickly add sprinkles, edible pearls, or any other decoration before the candy shell hardens. Once it sets, toppings won't stick.
- Let the coating set:
- Leave the truffles at room temperature for about 15 minutes, or refrigerate them for 10 if you want them ready faster. The coating should feel dry and firm to the touch before you handle them.
- Serve and store:
- Keep the finished truffles chilled in an airtight container for up to a week. They taste best when served cold, with that crisp shell contrast against the creamy center.
 Save
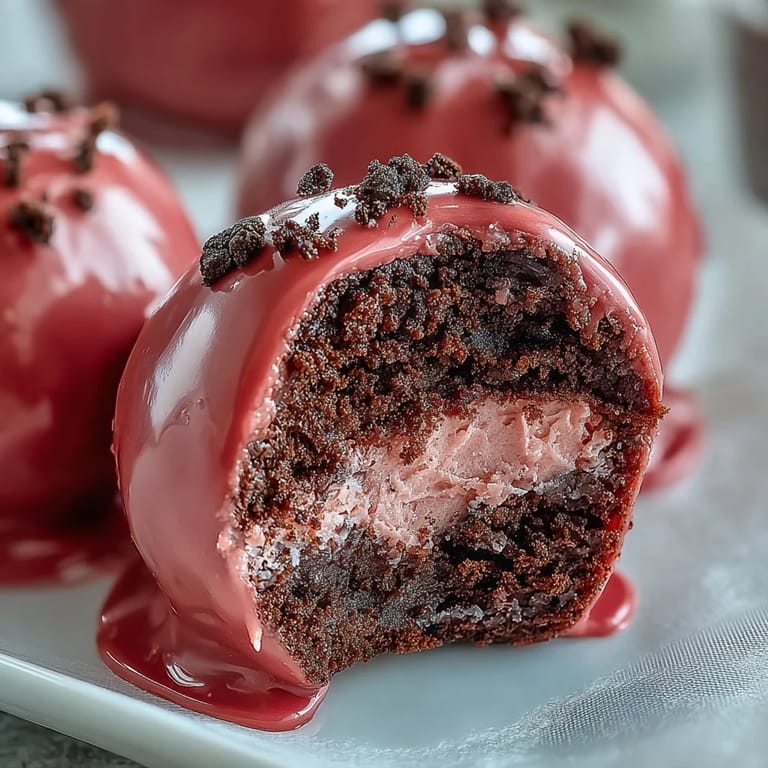
Save The first time I brought these to a potluck, a colleague asked if I'd ordered them from a fancy dessert shop. I felt a little rush of pride admitting I'd made them in my own kitchen with ingredients I picked up during a regular grocery run. She took three more from the platter before the night ended, and the next week she asked for the recipe during our coffee break.
Choosing Your Candy Coating
Candy melts come in almost every color you can imagine, and switching them out transforms the entire look of these truffles without changing a single step. I've done pastel blue for baby showers, deep red for Valentine's Day, and even swirled two colors together by drizzling one over the other while the base coat was still tacky. If you can't find the exact shade you want, grab white candy melts and tint them with oil-based food coloring, because water-based dyes will make the candy seize and turn grainy.
Texture Tweaks and Add-Ins
Once you've mastered the basic truffle, you can stir in finely chopped nuts, shredded coconut, or even a pinch of espresso powder to the cream cheese mixture for a little extra depth. I tried adding crushed peppermint candies during the holidays, and the cool mint flavor cut through the sweetness in a way that made them feel almost refreshing. Just be careful not to add too much of anything wet or oily, or the truffles won't hold their shape when you roll them.
Serving and Presentation Ideas
These truffles look stunning piled in a glass bowl, tucked into mini cupcake liners, or arranged on a tiered dessert stand. I like to chill them until right before guests arrive, then set them out so the coating stays firm and glossy under room lights. If you're gifting them, layer them between squares of parchment in a decorative tin and keep the container cold until handoff.
- Use holiday-themed sprinkles to match the season and make them feel festive without extra work.
- Drizzle a contrasting candy melt color over the set coating for a bakery-style finish that takes seconds.
- Store them in a single layer if possible so the decorations don't smudge or stick together.
 Save
Save Every time I pull a tray of these from the fridge and see that glossy pink shell, I'm reminded that some of the best recipes are the ones that look like they took hours but really just need a little patience and cold hands. Make a batch, share them with people you care about, and watch how quickly they disappear.
Questions & Answers
- → How long do these truffle balls need to chill before dipping?
The truffle balls need to chill for 30 minutes in the refrigerator or 15 minutes in the freezer until firm enough to handle without losing their shape during the dipping process.
- → Can I use white chocolate instead of candy melts?
White chocolate can be used but may not set as firmly as candy melts. Candy melts are specifically formulated to create a hard, snappy coating that holds its shape well at room temperature.
- → What's the best way to crush the Oreo cookies?
A food processor creates the finest, most uniform crumbs quickly. Alternatively, place cookies in a sealed zip-top bag and crush with a rolling pin until you achieve fine, sand-like texture.
- → How should I store leftover truffle balls?
Store in an airtight container in the refrigerator for up to one week. The cool temperature keeps the coating firm and the creamy center fresh. Serve chilled for best texture and flavor.
- → Can I make these truffle balls ahead of time?
Yes, you can prepare the unballed truffle mixture up to 2 days in advance and store refrigerated. Roll and dip closer to serving time, or complete entirely and store chilled for up to a week.
- → Why add vegetable shortening to the candy melts?
Vegetable shortening thins the melted candy coating slightly, making it easier to dip evenly while creating a smoother, shinier finish once set. It's optional but improves consistency.