 Save
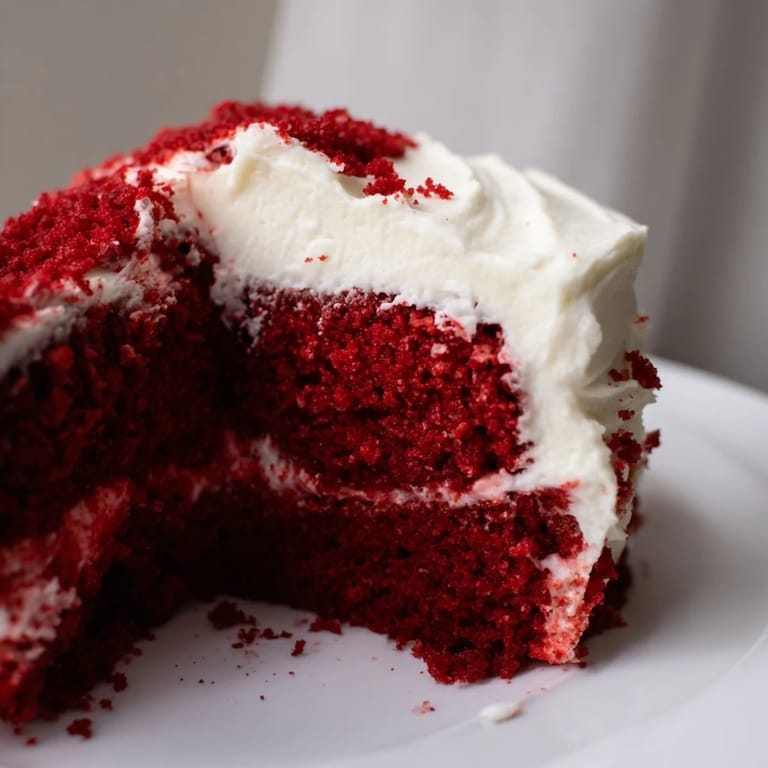
Save The first time I made red velvet cake, I stood over the mixing bowl watching the batter turn that impossibly vivid shade of crimson. My kitchen smelled like cocoa and something sweet was definitely happening. That deep red color feels almost magical, like kitchen alchemy in action. Now whenever I see those bright red crumbs on a plate, I remember the butter-slicked counters and sugar-dusted apron of that first attempt.
I brought this cake to my sisters birthday dinner last year. Her eyes lit up when she saw that signature red slice on her plate. The whole family went quiet for that first bite, then immediately started asking for the recipe. Thats the moment I knew this red velvet had become part of our celebration repertoire.
Ingredients
- All-purpose flour: The structure builder that gives this cake its tender crumb
- Unsweetened cocoa powder: Just enough to provide depth without overpowering the delicate flavor
- Baking soda: Works with that splash of vinegar to create the cakes signature rise
- Salt: A pinch balances sweetness and enhances all the other flavors
- Granulated sugar: Sweetens and helps create that velvety texture we love
- Unsalted butter: Cream it with sugar until fluffy for the best texture
- Large eggs: Room temperature eggs incorporate more evenly into the batter
- Buttermilk: The secret ingredient for moisture and that characteristic tang
- Vanilla extract: Pure vanilla adds warmth and rounds out the flavor profile
- White vinegar: Reacts with baking soda and buttermilk for extra tenderness
- Red food coloring: Gel coloring gives the most vibrant, lasting color
- Vegetable oil: Keeps the cake incredibly moist for days
- Cream cheese: Fully softened cream cheese makes frosting silky smooth
- Powdered sugar: Sifting first prevents lumps in your frosting
Tired of Takeout? 🥡
Get 10 meals you can make faster than delivery arrives. Seriously.
One email. No spam. Unsubscribe anytime.
Instructions
- Preheat your oven to 350°F (175°C) and prepare your pans:
- Grease and flour two 9-inch round cake pans thoroughly, tapping out excess flour. This step ensures your cakes release beautifully later.
- Whisk together your dry ingredients:
- Sift flour, cocoa powder, baking soda, and salt into a medium bowl. Sifting incorporates air and prevents any lumpy surprises in your finished cake.
- Cream the butter and sugar:
- Beat sugar and softened butter until light and fluffy, about 3 minutes. Add eggs one at a time, mixing well after each addition.
- Add oil, vanilla, and vinegar:
- Mix these into your butter mixture until combined. The oil might look separate but will emulsify beautifully as you continue.
- Create your red buttermilk mixture:
- Whisk the red food coloring into the buttermilk in a small bowl until fully incorporated. Watch that stunning color develop.
- Combine wet and dry ingredients:
- Add dry ingredients to wet mixture in three parts, alternating with buttermilk mixture. Begin and end with dry ingredients, mixing until just combined.
- Bake until perfectly done:
- Divide batter evenly between prepared pans. Bake 28 to 30 minutes until a toothpick inserted in center comes out clean.
- Cool completely before frosting:
- Let cakes cool in pans 10 minutes, then turn onto wire racks. Absolutely must cool completely or your frosting will melt right off.
- Make the cream cheese frosting:
- Beat softened cream cheese and butter until smooth and creamy. Gradually add sifted powdered sugar, vanilla, and pinch of salt.
- Frost your cooled cake layers:
- Spread frosting between layers, then cover top and sides. Work quickly and confidently for the smoothest finish.
 Save
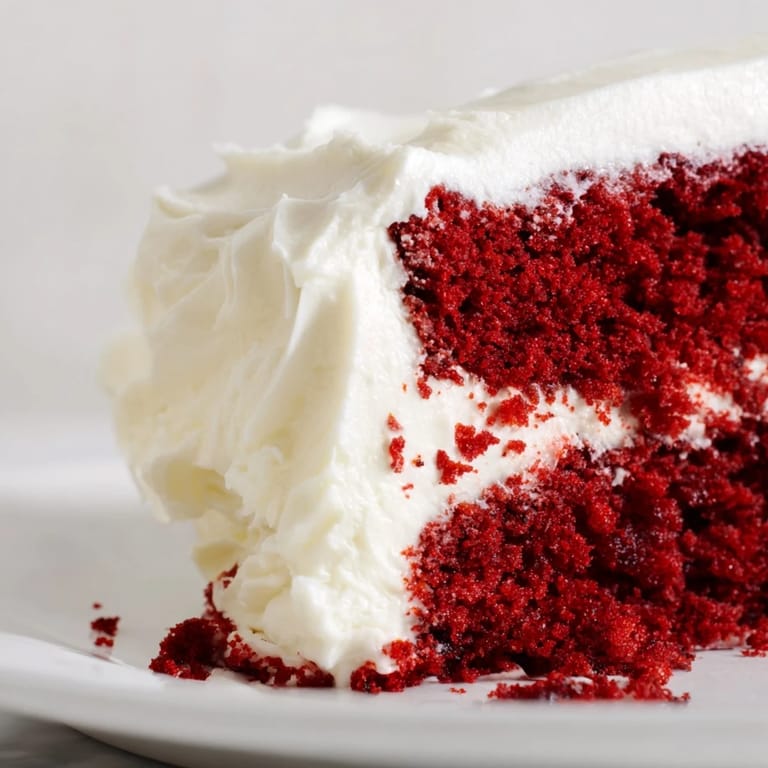
Save My grandmother always said red velvet was special occasion food, something you made when you wanted to show love through baking. Now I understand what she meant. The care in each step, the patience required, the way it brings people together around the dessert table.
Getting That Perfect Red Color
Ive learned that gel food coloring delivers the most intense red shade without thinning the batter. Liquid coloring works but requires more drops, which can affect the cakes chemistry. Start with less than you think and add more until you reach your desired shade.
Frosting Like a Pro
Chill your frosted cake for 15 minutes before serving. This trick helps the frosting set so you get clean slices. Run your knife under hot water and wipe dry between cuts for the most presentable pieces.
Make Ahead Magic
You can bake the cake layers up to two days ahead. Wrap them tightly in plastic and store at room temperature. Make the frosting the day before and refrigerate, then bring to room temperature and beat briefly before frosting.
- Unfrosted cake layers freeze beautifully for up to three months
- Thaw frozen layers overnight in the refrigerator before frosting
- Always bring ingredients to room temperature before starting your final assembly
 Save
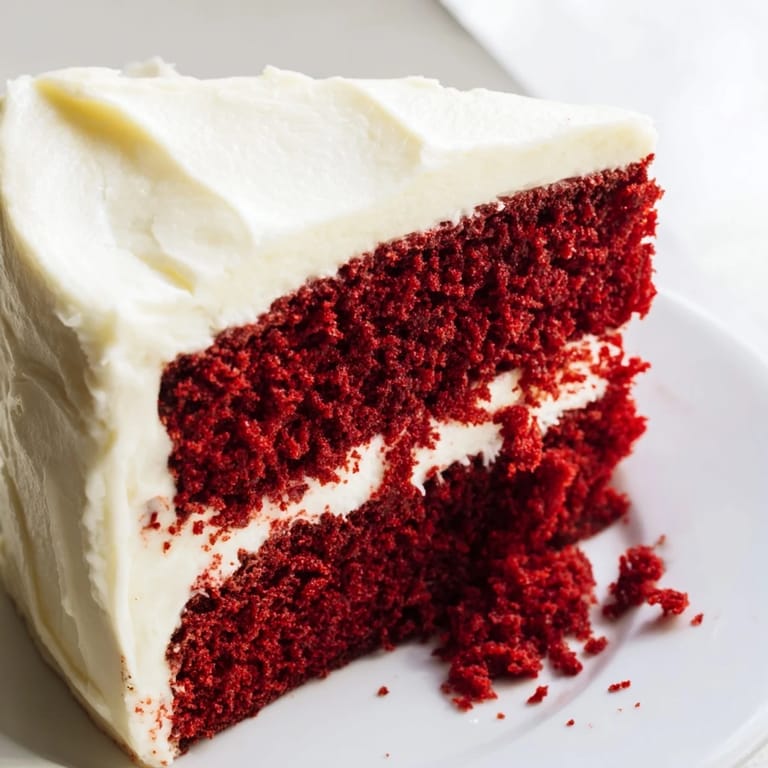
Save Every slice of this red velvet cake carries a little bit of celebration in it. Hope it becomes part of your special moments too.
Questions & Answers
- → What makes red velvet different from regular chocolate cake?
Red velvet has a unique tender crumb from the buttermilk and vinegar reaction, plus a subtle cocoa flavor that's milder than traditional chocolate cake. The cream cheese frosting and distinct red hue also set it apart.
- → Why does my red velvet cake sometimes turn brown instead of red?
Natural cocoa powder can cause the batter to appear brownish. Using gel food coloring instead of liquid and adding the coloring to buttermilk first helps achieve that vibrant red shade.
- → Can I make red velvet cake ahead of time?
Yes, bake the layers up to 2 days in advance. Wrap tightly in plastic and refrigerate. Frost the day of serving for best results, or refrigerate the frosted cake for up to 5 days.
- → What's the secret to the perfect cream cheese frosting?
Use room temperature ingredients and beat until completely smooth before adding powdered sugar. Sifting the sugar prevents lumps. Don't overbeat once the sugar is added or it can become too soft.
- → Can I freeze red velvet cake?
Wrap unfrosted cake layers tightly in plastic wrap and freeze for up to 3 months. Thaw overnight in the refrigerator before frosting. Frosted cake can also be frozen, though the texture may be slightly affected.